Grow Kit Instructions
Congratulations, you are on your way to becoming a mushroom farmer! To ensure success, please follow the instructions below. Each step is important, please read through twice to ensure nothing was missed. Please scroll to the bottom for log cultivation video and instructions.
Materials: What You Need: clean scissors, strong tape, large clear plastic tub, 2” Inch wood block (x4), and a spray bottle for misting.
Grow Kit for Fruiting: Oyster, Lion’s Mane, Chestnut, Shimeji
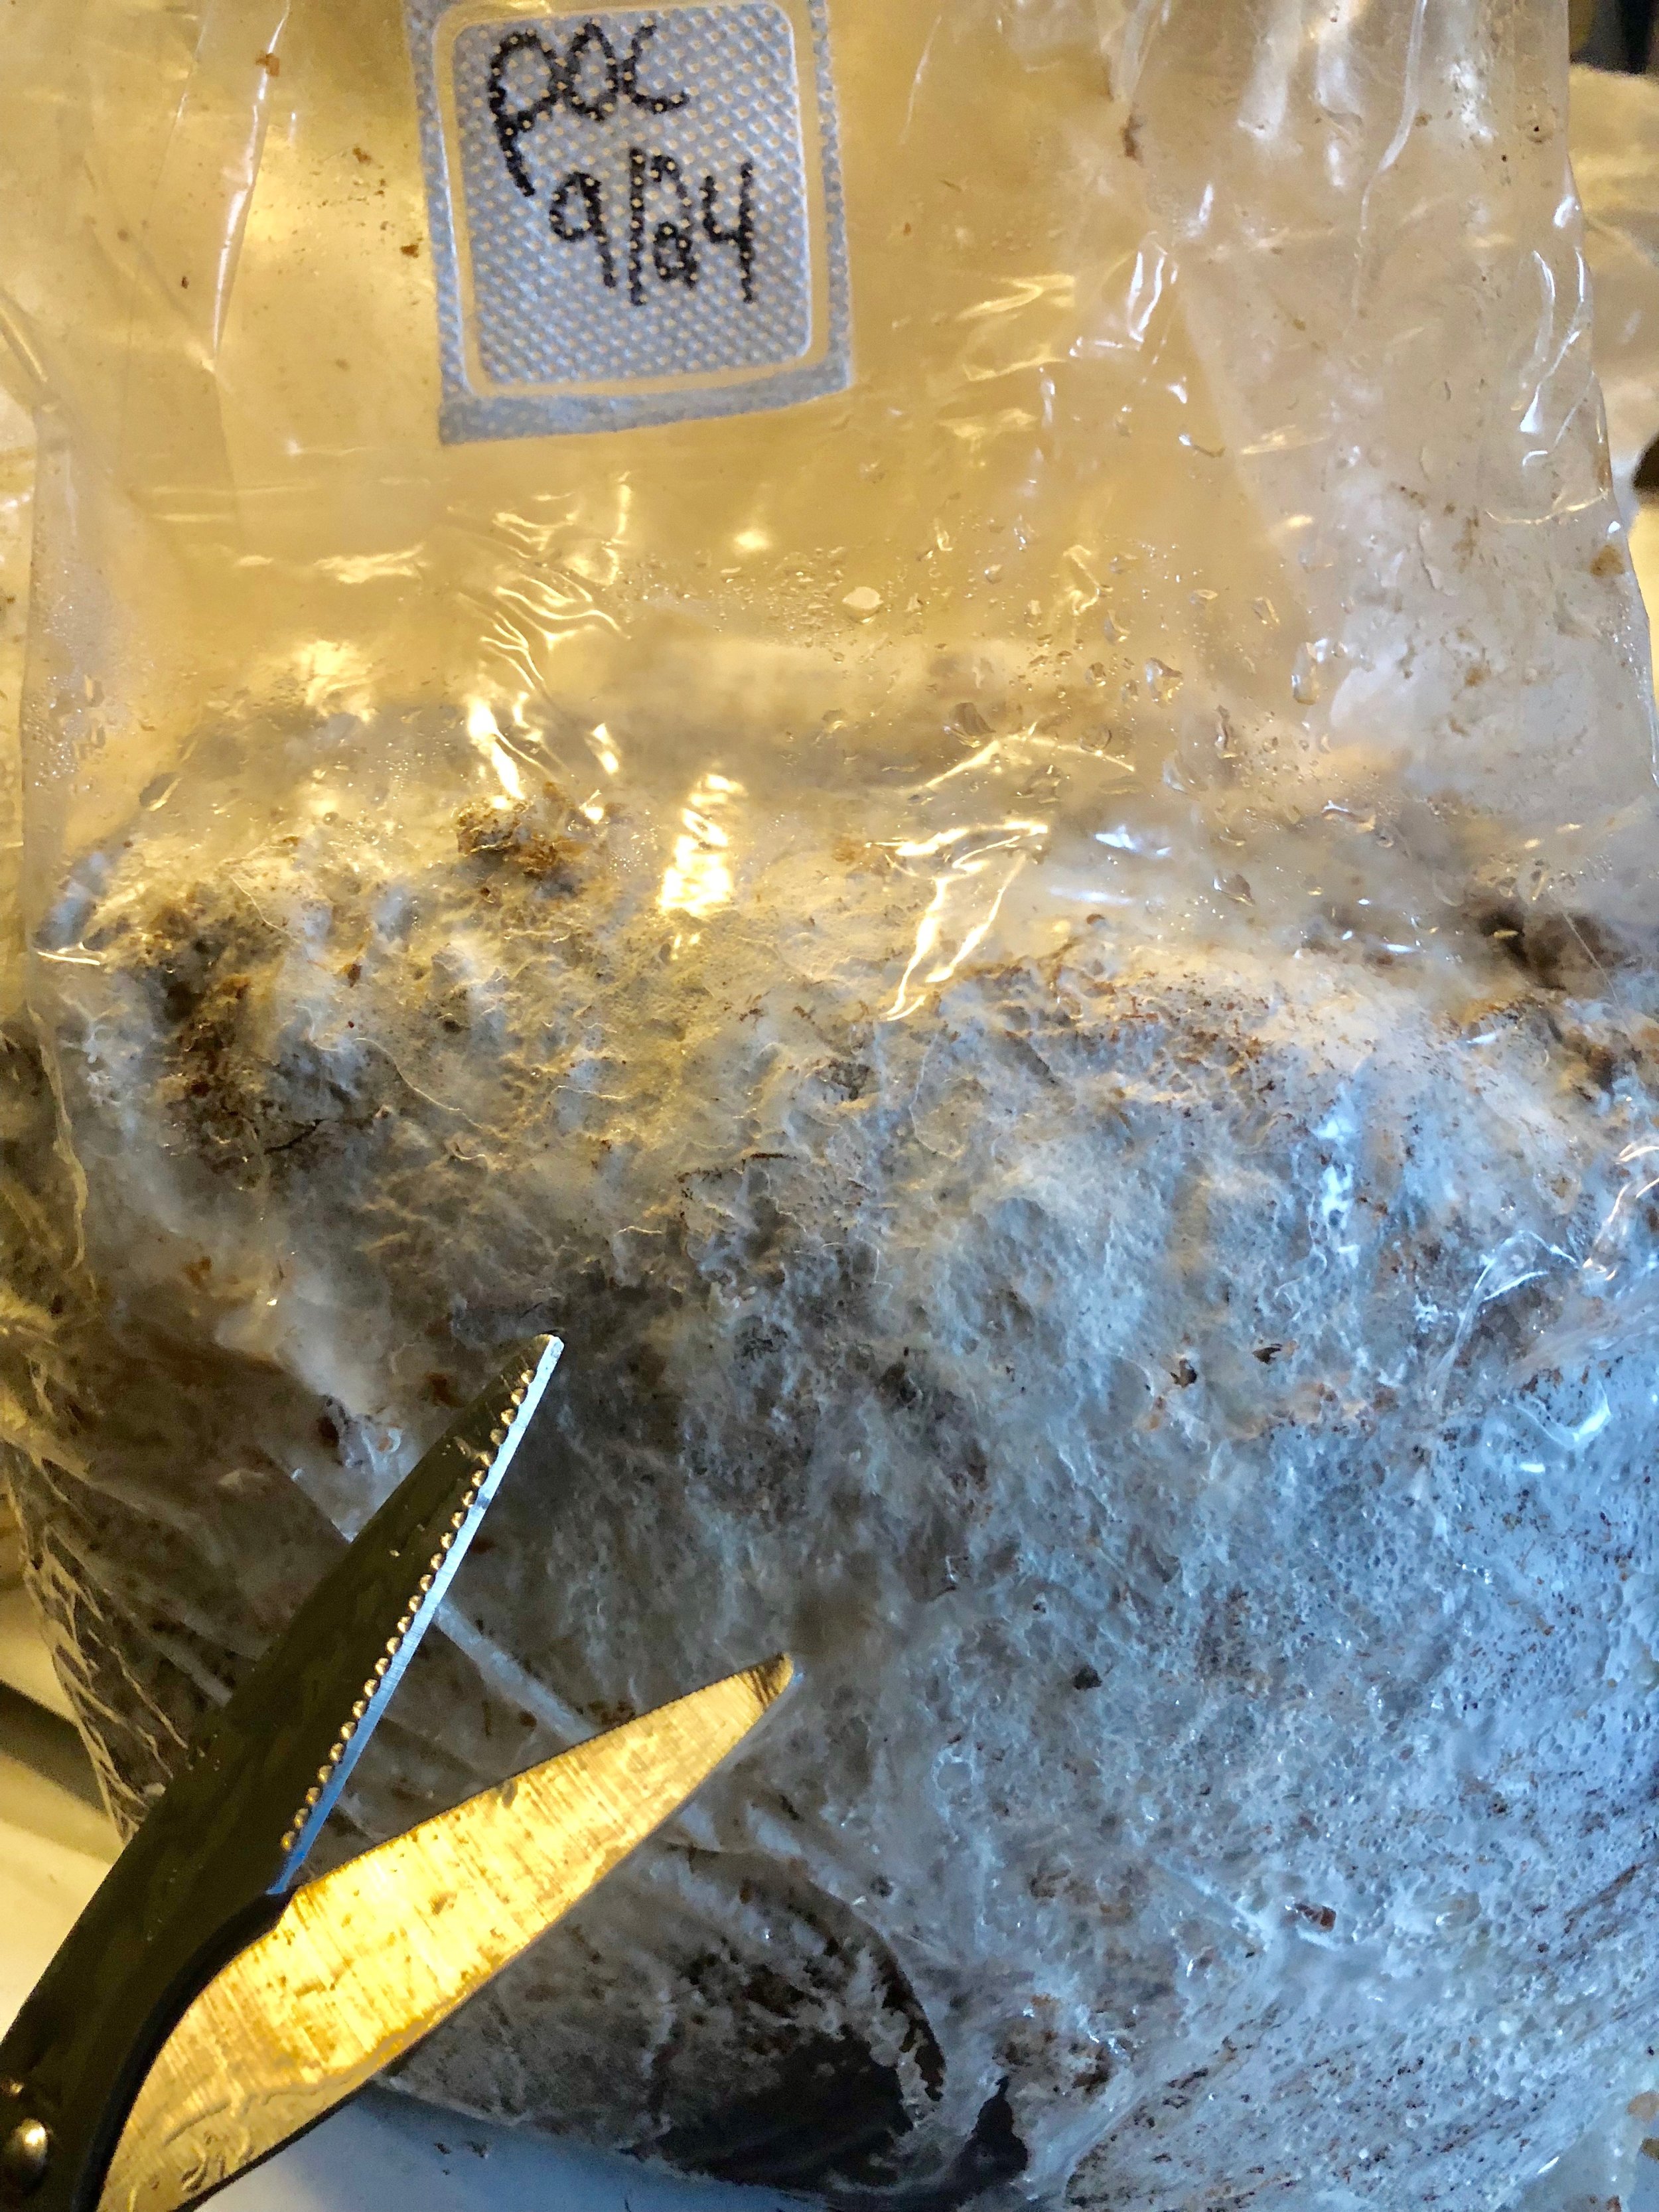
1. Take clean scissors and cut two holes in the bag, one on either side. The mushrooms will grow out of these holes in search for oxygen.
2. The holes should be cut in an x pattern a couple inches wide. Try not to cut too deep. Place bag on the tray, this will be its new home.
3. Push all of the air out of the top of the bag. Fold the top of the bag and tightly tape it down. This ensures the mushrooms will not grow on the top.
*Shiitake bags are completely removed. In other words, take the entire block out of the bag to fruit.
Fruiting Chamber:
Now it is time to set up the humidity tent. Mushrooms are 90% water and require high humidity levels.
To setup a fruiting chamber take the lid of the tote and place upside down wherever you want to produce mushrooms. Place your mushroom kit in the center of the lid with the “X” facing upwards or sideways, next put your 2” pieces of wood at the 4 corners of the lid. Finally place the inverted plastic tub over top the mushroom kit and resting on the 4 wood corners (there should now be a 2” gap around the bottom of the container).
Air flow is crucial. The mycelium is breathing in oxygen and exhaling CO2, so the kit needs ample fresh air, however it also needs high humidity. The 2” gap around the bottom of the container insures the denser CO2 can exit the container, it also keeps the humidity from evaporating too quickly.
Daily Care:
Remove the container and mist everything inside the chamber thoroughly. You want to see water droplets on the inside of plastic tub, and on the mushroom bag, and the lid. If your house is dry, mist inside the tent twice a day, or as many times as needed. Remember, the bag is living and if the humidity or temperature is too low, mushrooms will not grow.
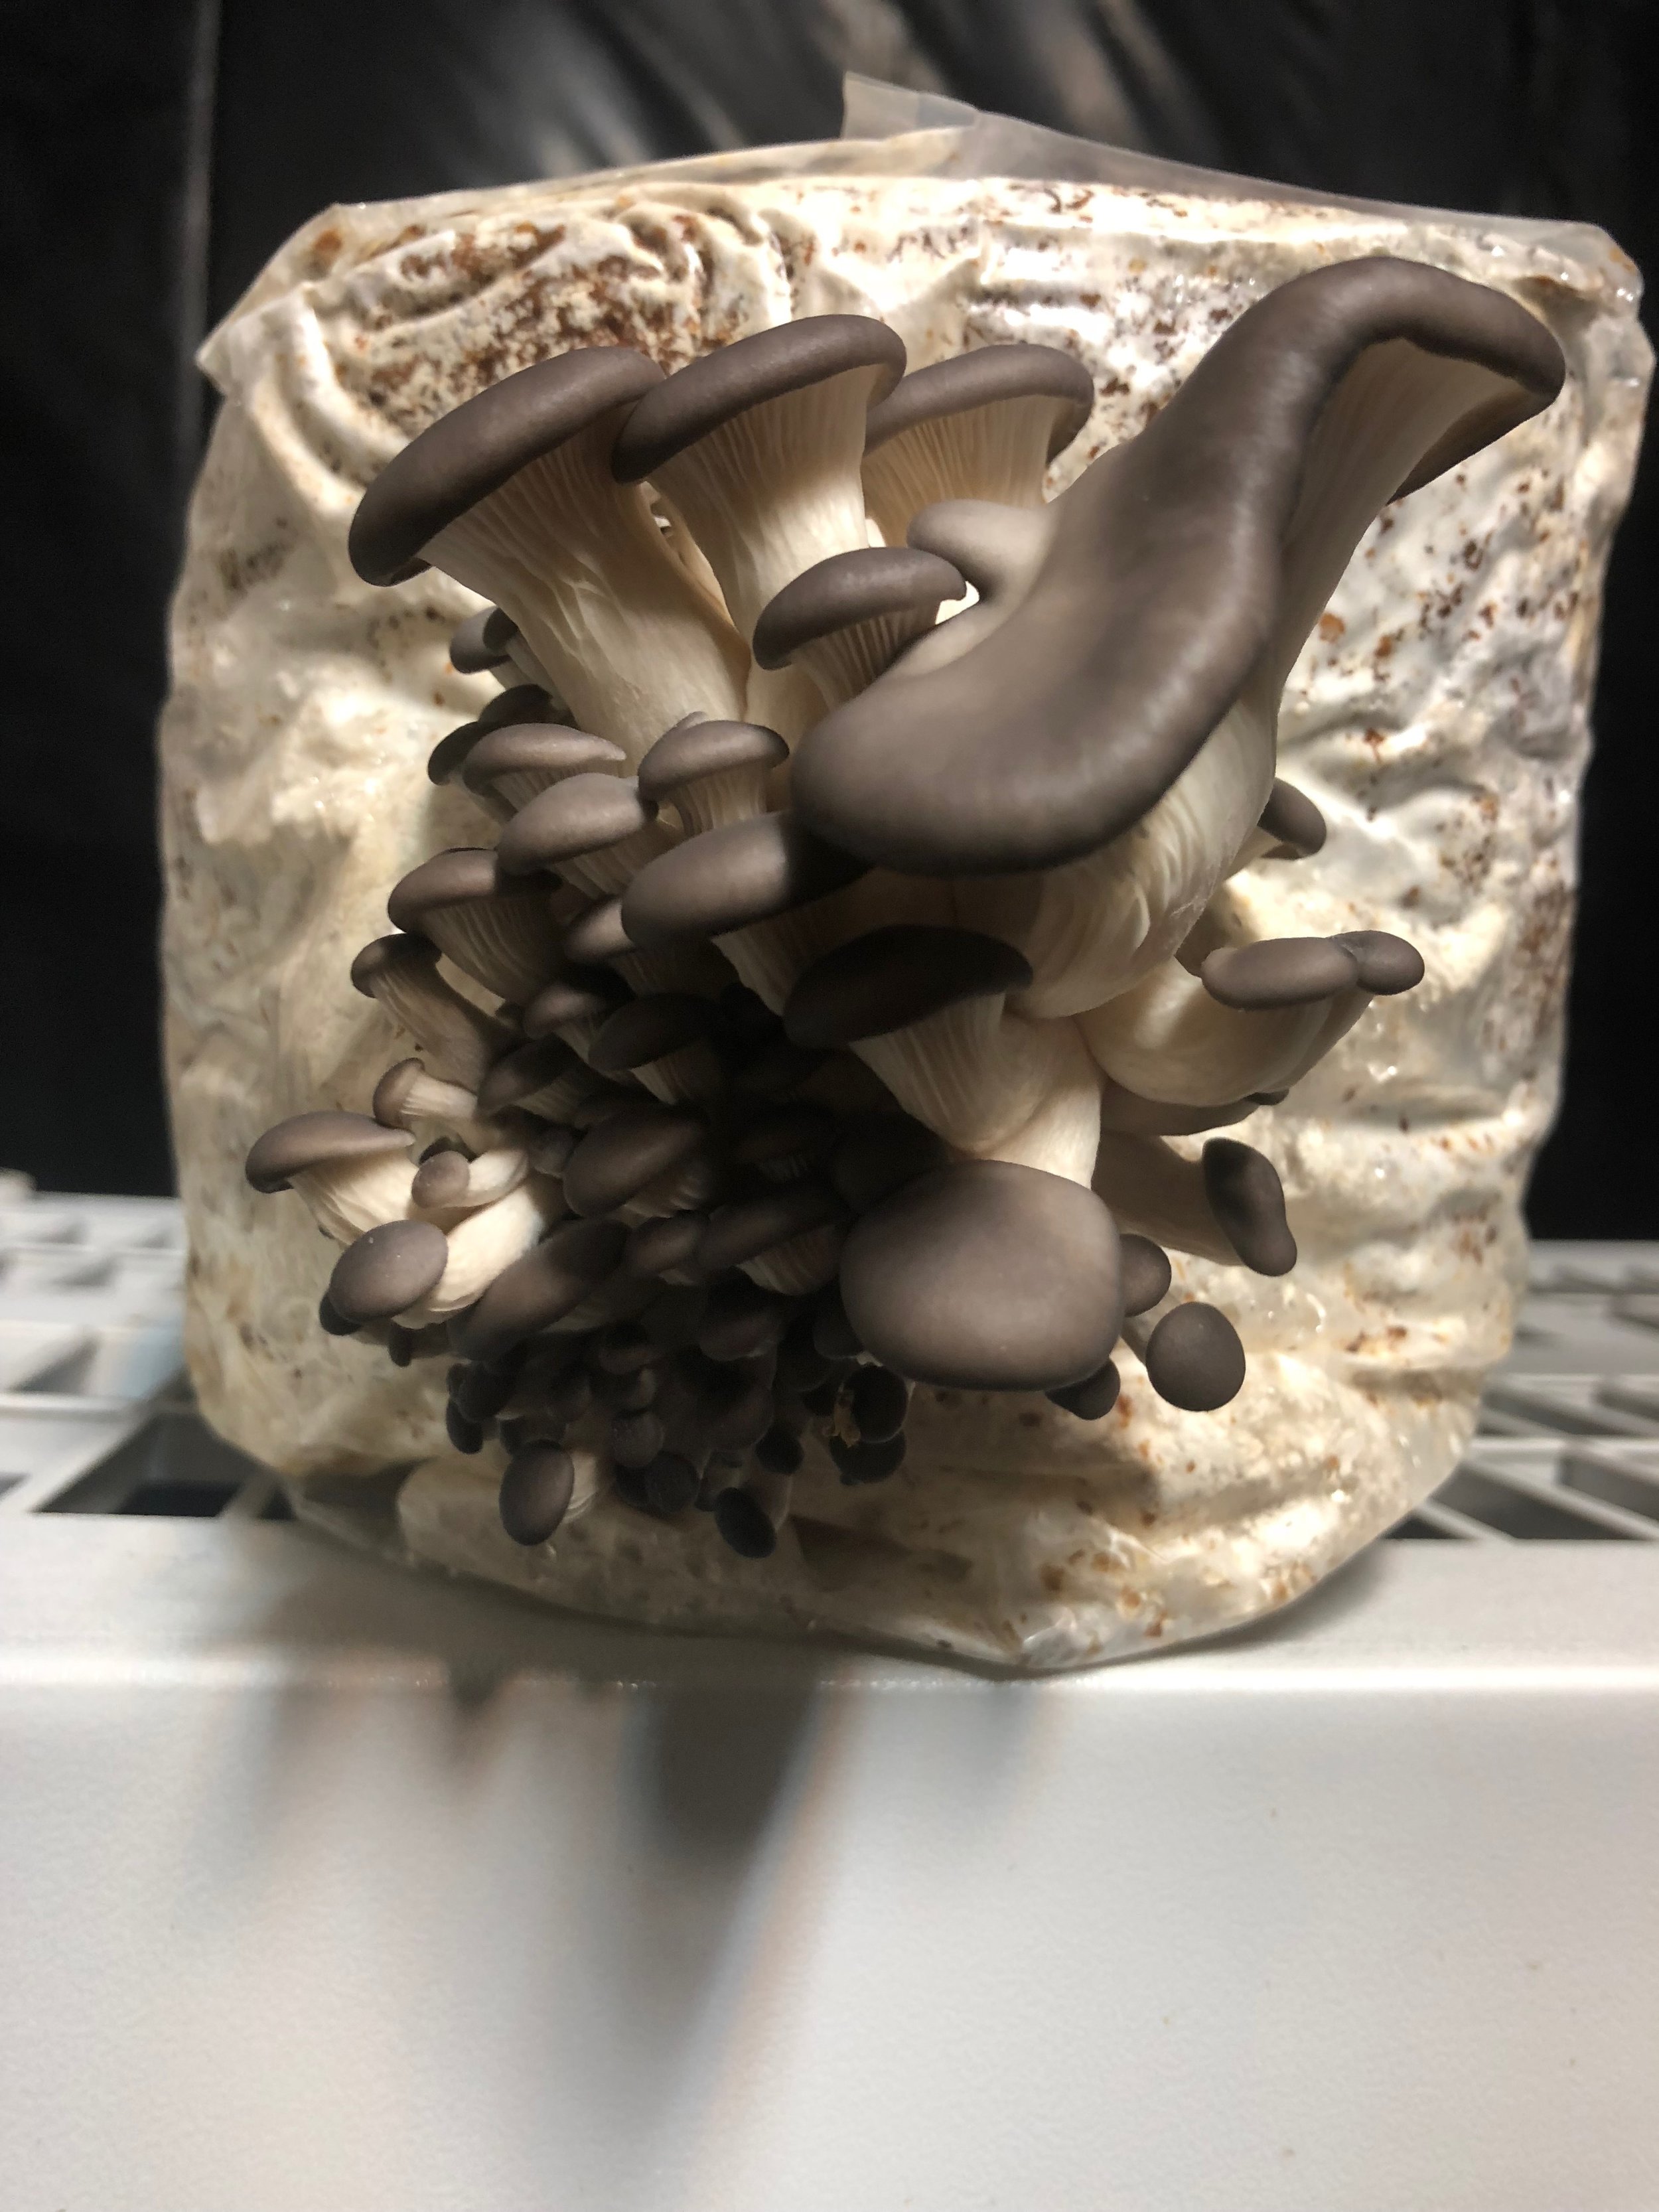
After a couple weeks of daily misting, primordia will form in the holes. This is the most delicate stage. So, make sure the humidity in the tent is high.
During the following week, the primordia will turn into tiny mushrooms. Daily growth will be obvious. When you peak under the tent, mist the mushrooms.
By the end of the week, the mushrooms will be almost ready to harvest. The caps of the mushroom will slowly curl open to release white spores.
You want to harvest the mushroom before the spores release. So, pick the mushroom while the caps are slightly curled under. If the cap is flat or curled upward, harvest immediately.
To harvest, hold the mushroom cluster at the base of the stems at the hole opening. Twist and pull. Some sawdust will come off as you harvest. Clean the holes of any remaining mushrooms.
The mushroom bag will continue growing and produce at least one more harvest out of the original holes. Go back to the top of the instructions and continue enjoying your delicious mushrooms.
Shiitake Log Cultivation
Please note this video suggests using an inoculation tool and 12 mm bit attachments. This is not necessary. Simply use a 14mm bit or larger and fill holes with spawn by hand. Please see recommendations below.
Recommendations:
Birch or Alder- length of 100-120cm and diameter of 10-15cm.
14 mm drill bit or larger- once spawn added, seal holes with candle wax, cork, or round wood discs.
Wash hands thoroughly and use gloves before handling spawn. Use hydrogen peroxide ONLY. Hydrogen peroxide will not kill the mycelium, but bleach or isopropyl will.


